Writing your first app
tip
This codelab walks you through witing your first Flutter application for macOS using macos_ui, from scratch. If you are new to Flutter, you might want to begin with Flutter's "Write your first Flutter app" or "Write your first Flutter app on the web" codelabs and return here afterwards.
If you are already comfortable with Flutter, the Quick Start guide might be more appropriate for you.
Step 1: Create the starter Flutter app
Create a simple, templated Flutter app using the instructions found using the method of your choice. You can follow the instructions found in Flutter's Getting Started with your first Flutter app. Name the project "basics".
Step 2: Add macos_ui
- Add
macos_uito yourpubspec.yamlfile using the instructions found in Installation. - Delete all of the code from lib/main.dart and replace it with the following:
import 'package:flutter/cupertino.dart';import 'package:macos_ui/macos_ui.dart';void main() { runApp(const MyApp());}class MyApp extends StatelessWidget { const MyApp({Key? key}) : super(key: key); Widget build(BuildContext context) { return MacosApp( theme: MacosThemeData.light(), darkTheme: MacosThemeData.dark(), themeMode: ThemeMode.system, ); }}info
The first thing you might notice is that we are importing both cupertino and macos_ui. This is because macos_ui does not export any of Flutter's built-in libraries via the macos_ui.dart library file. As such, in order to use things like StatelessWidget and ThemeMode you'll have to import cupertino or material. We're going with cupertino so that we can use CupertinoIcons later on.
caution
When using the material library in conjunction with macos_ui, be careful not to use any widgets like ListTile that require a Material ancestor in the widget tree. macos_ui offers alternatives to such widgets, like MacosListTile, that avoid such conflicts.
- Run the app in the way your IDE describes. Select "macOS (desktop)" as your build target.
Once the app finishes building you should see the following window:
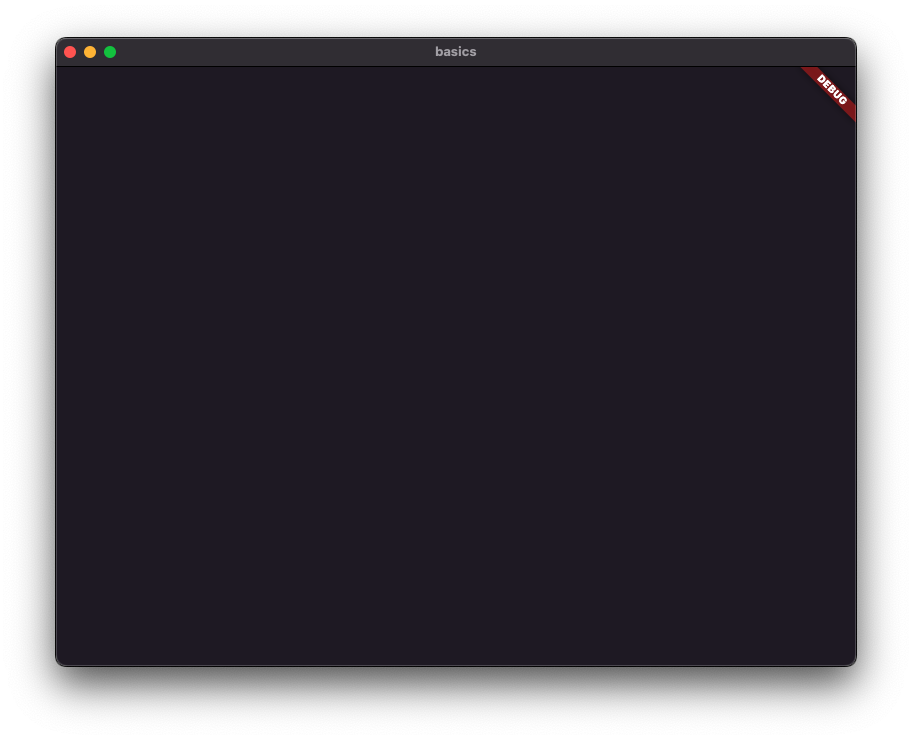
what is a MacosApp?
A MacosApp is a widget that represents an application that uses the macOS design system. It should be the root of your application's widget tree, and is comparable to Flutter's MaterialApp and CupertinoApp from the material and cupertino widget libraries, respectively.
As with MaterialApp and CupertinoApp, MacosApp acts as a convenience wrapper around widgets that are commonly required for a Flutter application that is intended to look and feel like a native macOS application, and provides certain defaults, like themes and scrolling physics. While you could certainly use macos_ui widgets and themes without using a MacosApp, it would be quite messy to do so; therefore, it is strongly recommended that you place a MacosApp at the root of your widget tree rather than a MaterialApp or other comparable widgets.
MacosApp is built on top of a CupertinoApp. All the properties you'd expect a CupertinoApp to have are available for a MacosApp, such as builder, navigatorKey, routes, and localizationsDelegate. To view the full list of MacosApp's available properties, please see the technical documentation on pub.dev.
If at this point you are wondering how to manage targeting multiple platforms while using the appropriate widget libraries (such as material for mobile, fluent_ui for Windows, and macos_ui for macOS), all of which expect their own root application widget, don't fret - this can be done relatively easily and there is a special codelab for this coming soon!
Step 3: Add some UI
It's pretty common for macOS applications to have the following:
- A main content area
- A resizable sidebar with navigational items that change what is shown in the main content area
Let's create some UI that reflects this common practice using macos_ui.
Create the MyHomePage widget
A widget with a content area and a resizable sidebar is fairly complex. Thankfully, macos_ui abstracts all that away using the MacosWindow widget.
What is a MacosWindow?
A MacosWindow is a basic layout widget that handles top-level UI layout for you. In addition to providing the main content for your app, you can use it to give your app a Sidebar and a Titlebar.
import 'package:flutter/cupertino.dart';import 'package:macos_ui/macos_ui.dart';void main() { runApp(const MyApp());}class MyApp extends StatelessWidget { const MyApp({Key? key}) : super(key: key); Widget build(BuildContext context) { return MacosApp( theme: MacosThemeData.light(), darkTheme: MacosThemeData.dark(), home: const MyHomePage(), ); }}class MyHomePage extends StatefulWidget { const MyHomePage({Key? key}) : super(key: key); State<MyHomePage> createState() => _MyHomePageState();}class _MyHomePageState extends State<MyHomePage> { int _pageIndex = 0; Widget build(BuildContext context) { return MacosWindow( sidebar: Sidebar( minWidth: 200, builder: (context, scrollController) { return SidebarItems( currentIndex: _pageIndex, onChanged: (index) {}, items: [], ); }, ), child: const Center( child: Text('Hello World'), ), ); }}Add some items to the Sidebar
At this point we need to fill our SidebarItems with some actual SidebarItems so that we can have something to click on:
import 'package:flutter/cupertino.dart';import 'package:macos_ui/macos_ui.dart';void main() { runApp(const MyApp());}class MyApp extends StatelessWidget { const MyApp({Key? key}) : super(key: key); Widget build(BuildContext context) { return MacosApp( theme: MacosThemeData.light(), darkTheme: MacosThemeData.dark(), home: const MyHomePage(), ); }}class MyHomePage extends StatefulWidget { const MyHomePage({Key? key}) : super(key: key); State<MyHomePage> createState() => _MyHomePageState();}class _MyHomePageState extends State<MyHomePage> { int _pageIndex = 0; Widget build(BuildContext context) { return MacosWindow( sidebar: Sidebar( minWidth: 200, builder: (context, scrollController) { return SidebarItems( currentIndex: _pageIndex, onChanged: (index) {}, items: const [ SidebarItem( leading: MacosIcon(CupertinoIcons.home), label: Text('Home'), ), SidebarItem( leading: MacosIcon(CupertinoIcons.search), label: Text('Explore'), ), ], ); }, ), child: const Center( child: Text('Hello World'), ), ); }}A closer look at Sidebar and SidebarItems
Sidebar
The Sidebar is a configuration class that lets you set the properties of your app's sidebar area.
The minWidth is required, and is the minimum width the sidebar can be as it is being resized. Check out the technical documentation to see all the ways you can customize your sidebar!
SidebarItems
SidebarItems is a scrollable widget that builds SidebarItems and tracks the index of the currently selected SidebarItem. You can pass it the builder's scrollController to have direct control over its scrolling behavior.
Check out the technical documentation for SidebarItems and SidebarItem to learn more!
Do a hot restart of your app. Your app should now look like this:
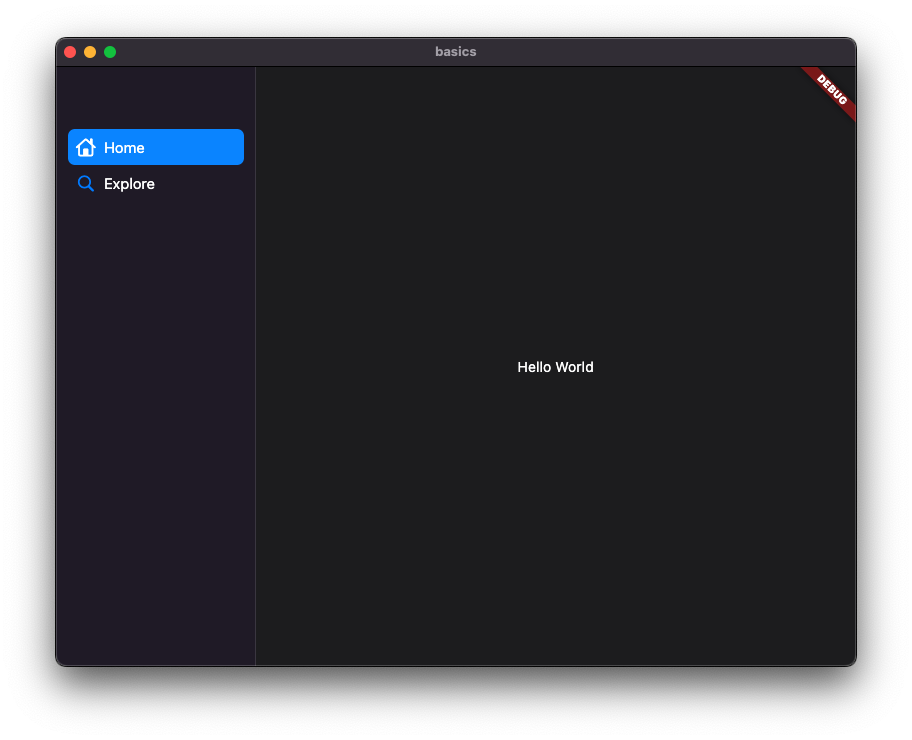
At this point, clicking on the sidebar items doesn't result in anything happening. This is because we are not doing anything in SidebarItem's onChanged function, so let's take care of that like by adding the following code to that empty function:
onChanged: (index) {
  setState(() => _pageIndex = index);
},
Perform a hot reload. Now, if you click on the sidebar items, they will appropriately become the currently selected item.
Update the main content area
At this point we need to change the content being shown when navigation is performed. To do that, we need to remove the Center widget that is the child property of our MacosWindow and replace it with an IndexedStack. We'll then add two MacosScaffold widgets two represent our two "pages" that we can navigate between by using the sidebar.
what is a MacosScaffold?
A MacosScaffold is what you might consider a "page" in an app. It provides a basic structure with which to lay out content in your app at a lower level than a MacosWindow, but at a higher level than common layout widgets like Stack, Column, and Row. In this way, it is similar to the material library's Scaffold widget and the cupertino library's CupertinoPageScaffold widget.
import 'package:flutter/cupertino.dart';import 'package:macos_ui/macos_ui.dart';void main() { runApp(const MyApp());}class MyApp extends StatelessWidget { const MyApp({Key? key}) : super(key: key); Widget build(BuildContext context) { return MacosApp( theme: MacosThemeData.light(), darkTheme: MacosThemeData.dark(), home: const MyHomePage(), ); }}class MyHomePage extends StatefulWidget { const MyHomePage({Key? key}) : super(key: key); State<MyHomePage> createState() => _MyHomePageState();}class _MyHomePageState extends State<MyHomePage> { int _pageIndex = 0; Widget build(BuildContext context) { return MacosWindow( sidebar: Sidebar( minWidth: 200, builder: (context, scrollController) { return SidebarItems( currentIndex: _pageIndex, onChanged: (index) { setState(() => _pageIndex = index); }, items: const [ SidebarItem( leading: MacosIcon(CupertinoIcons.home), label: Text('Home'), ), SidebarItem( leading: MacosIcon(CupertinoIcons.search), label: Text('Explore'), ), ], ); }, ), child: IndexedStack( index: _pageIndex, children: [ MacosScaffold( children: [ ContentArea( builder: ((context, scrollController) { return const Center( child: Text('Home'), ); }), ), ], ), MacosScaffold( children: [ ContentArea( builder: ((context, scrollController) { return const Center( child: Text('Explore'), ); }), ), ], ), ], ), ); }}Be Aware
MacosScaffold widgets only accept two types of children: ContentArea and ResizablePane. The children property can only contain one ContentArea but can included multiple (or zero) ResizablePanes.
tip
It's a good idea to break out the widgets you're using as the children of your IndexedStack into their own classes.
At this point, your application is fully interactive - when you click on an item in the sidebar, the content area will be udpated appropriately.
Next Steps
Congratulations!
You've written your first Flutter application for macOS using macos_ui! Try out some more codelabs, check out the rest of the documentation, or just start building!